Welcome to the world of radio broadcasting, where every voice has the power to captivate and inspire. Whether you’re a seasoned DJ, a passionate music enthusiast, or a budding podcaster, the allure of sharing your voice with the world is undeniable. And what better way to embark on this exhilarating journey than by creating your own home radio studio?
Join us as we explore the essential tools, techniques, and tips for crafting a home studio that not only meets but exceeds the standards of professional radio broadcasting. Whether you dream of hosting your own talk show, spinning the latest tracks, or conducting in-depth interviews, your home radio studio is the gateway to bringing your vision to life.
In the following three articles, follow our step-by-step guide to help you create, assemble and broadcast from your own home radio studio.
- Part I: How to create your Home Radio Studio
- Part II: How to put your Home Radio Studio together
- Part III: How to broadcast from your Home Radio Studio
1/ Creating Your Professional Home Radio Studio
Essential Equipment for a High-Quality Broadcast
Depending on the number of hosts on your own radio station, you may need more or less equipment. To comply with an accurate and accessible budget, we’ve planned this setup with two hosts and one external caller.
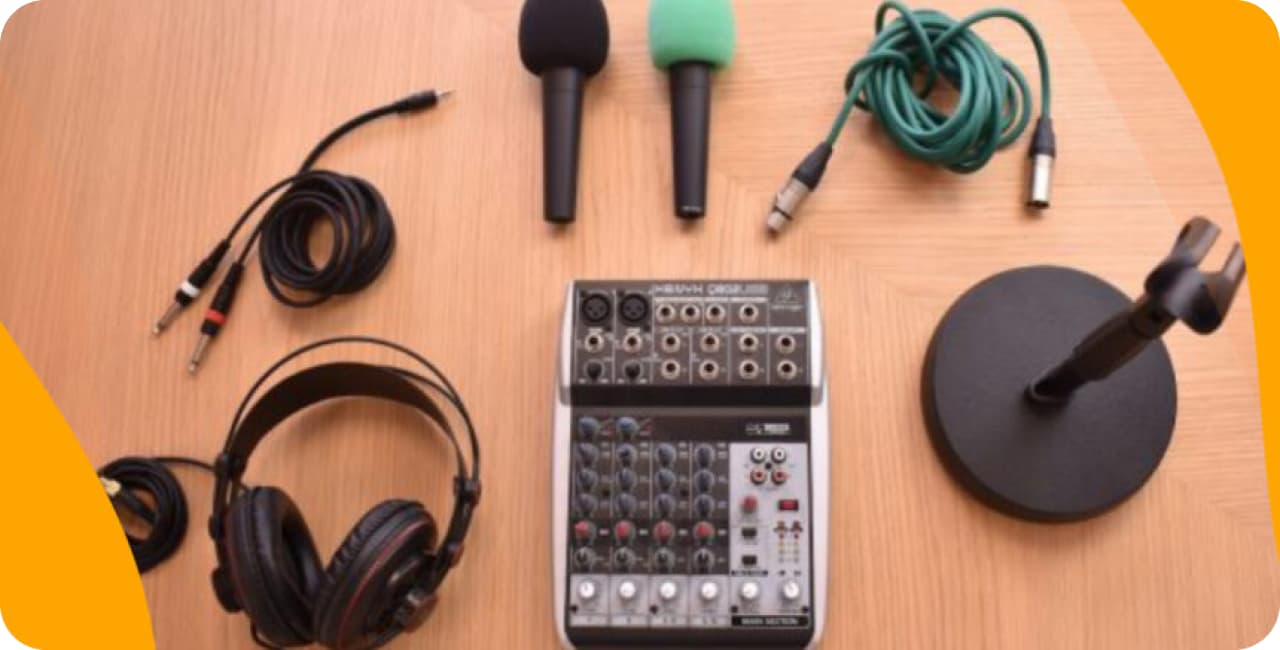
Your home radio studio is where your voice finds its audience. To make sure it’s heard loud and clear, you need to invest in some essential equipment:
- Professional Microphone: A microphone is the cornerstone of your studio. A high-quality mic like the Behringer XM8500 Ultravoice ($23) ensures your voice is captured with depth and clarity, providing that professional edge to your broadcasts.
- Sound Mixing Desk: Centralize control of your audio with a reliable mixing desk. The Behringer Xenyx Q802 USB ($79) is an ideal choice for home studios, offering both value and performance with USB integration to sidestep low-quality computer sound cards.
- Headphones: Headphones aren’t just for listening; they’re for monitoring. The Beyerdynamic DT-770 Pro 80 lets you hear exactly what your audience will, helping you adjust levels and catch any issues before they go live. If you’re looking for a more accessible pair, check out our article on best budget headphones!
Crafting the Perfect Sound
Achieving the perfect sound is about more than just the hardware. It’s about how you bring it all together. Here are some tips to ensure your studio setup is spot on:
- Acoustic Treatment: Your room’s acoustics can make or break your sound. Invest in some basic acoustic foam or panels to prevent echo and ensure your voice is the star of the show.
- Cable Management: Keep your space tidy and your signals strong with proper cable management. High-quality XLR cables, like those from sssnake, provide a reliable connection to your mixer without interference.
- Software: Don’t skimp on the broadcasting software. With tools like RadioKing, you can manage and broadcast your audio content with ease, providing a seamless experience for your listeners.
By integrating these key elements into your home radio studio, you’ll create a space that’s both functional and personal. A studio that’s tailored to your needs encourages not just great broadcasts, but a passion for the craft of radio itself.
2/ Studio Connectivity with Quality Cables
In the orchestra of radio broadcasting, cables are the unsung conduits of harmony. Ensuring clear transmission of sound, they are the lifelines that connect your array of equipment into one symphonic ensemble.
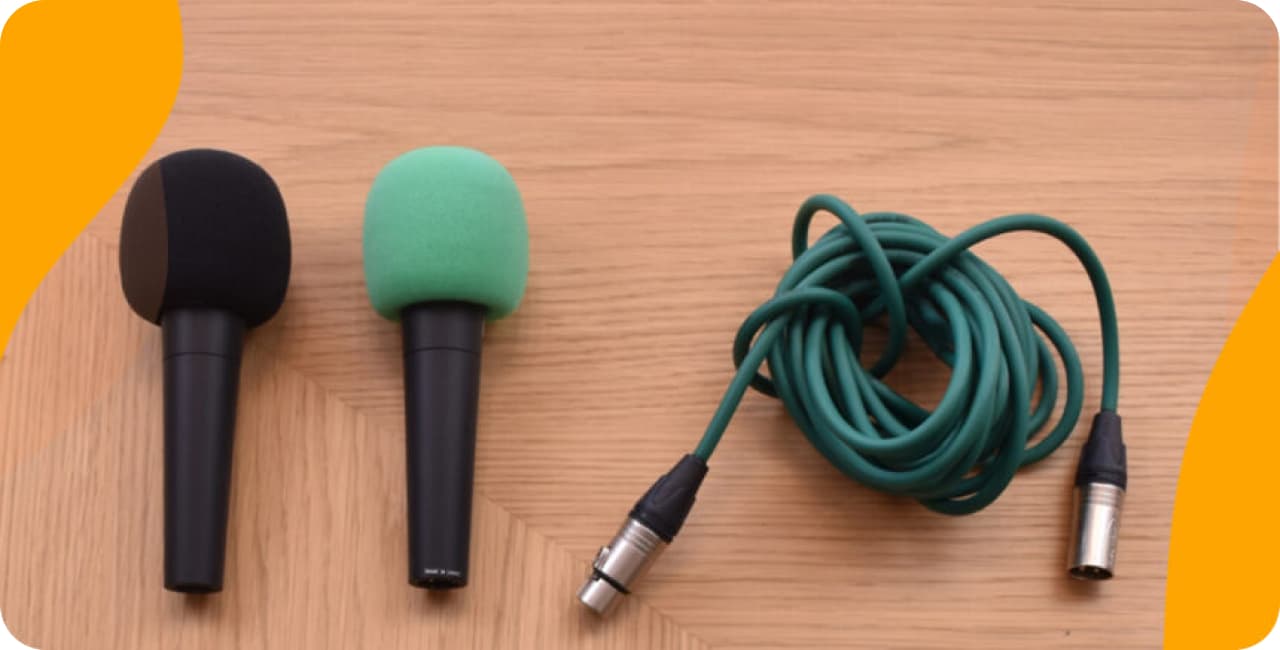
- The sssnake SM6BK ($6) Cable: These are your go-to for microphone connections. They’re robust, provide a secure connection, and are designed for optimal signal integrity, which is crucial for preserving the pure sound of your voice as it travels from the microphone to the mixer.
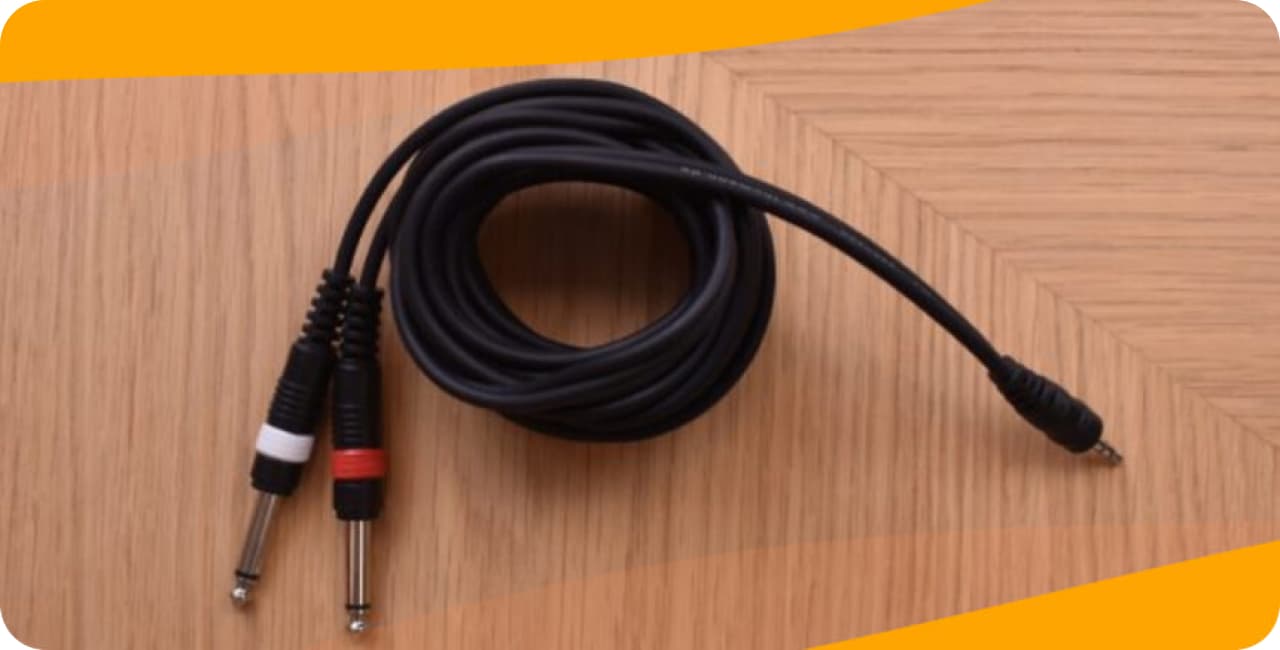
- The sssnake YPK 2030 ($4) Y-Audio Cable: This particular cable splits a single stereo signal into two, ideal for routing audio from your computer to the mixer or for patching in an external device. It’s perfect for adding depth to your broadcast with sound effects or playing music without losing fidelity.
Quality cables may seem like a small part of your setup, but they make a vast difference in the sound that reaches your audience’s ears. It’s an investment in durability and audio quality that any serious broadcaster should prioritize.
Accessories to Enhance Your Broadcasting Experience
The tactile and the tangible bring comfort and efficiency to your radio domain. From microphone stands to headphones, these accessories are pivotal for creating an ergonomic and focused broadcasting environment.
- Microphone Stands: The Millenium MS-2003 ($18) stands firm with its boom arm, offering the flexibility to position your microphone perfectly. This stand is about freedom; freedom to move, to gesture, and to engage with your content without restraint.
- Headphones: The Beyerdynamic DT-770 Pro 80 ($135) headphones are the window into your own production. They offer unmatched sound quality for monitoring, ensuring that what you’re hearing is precisely what’s being broadcasted. With these, you’re empowered to make real-time adjustments that refine your show’s audio quality.
Designing a Space That Inspires
Finally, your home radio studio should be a reflection of your personal brand and a beacon of inspiration. It’s where practicality meets personality:
- Acoustics: Soundproofing isn’t just professional; it’s personal. It keeps out the world’s noise, allowing your studio to be an oasis of sound.
- Lighting: Set the right mood with adjustable lighting. From the warm glow of a desk lamp to the invigorating brightness of studio lights, create an environment that keeps your energy levels high.
- Decor: Populate your space with elements that inspire creativity. Whether it’s framed album covers, inspirational quotes, or a plant to bring life to your surroundings, let your studio be a space that motivates you to create and share.
Remember, the art of radio is more than just talking into a mic; it’s about creating an experience, a moment, and a connection with every listener. Your home studio is where it all begins.
3/ Conclusion
In conclusion, building a home radio studio is a journey that blends passion with technology, creativity with clarity, and personality with professionalism. The equipment like mixers, microphones, cables, and accessories—forms the backbone of your broadcasting capability. Yet, it is your unique touch that will make your studio not just a collection of hardware, but a haven for your voice and vision.
As you embark on this adventure, remember that the quality of your broadcast is a reflection of both your dedication to the craft and the thoughtfulness put into selecting your equipment. The Behringer Xenyx Q802 USB, the Behringer XM8500 Ultravoice microphones, and the Beyerdynamic DT-770 Pro headphones are not just tools. They are extensions of your passion for radio broadcasting, enabling you to produce content that resonates with your audience.
Moreover, the space you create—cultivated with attention to acoustics, comfort, and inspiration—will serve as the stage for your creative expression. Here, amid the glow of your studio lights and the comfort of your chair, your content comes to life, connecting with listeners around the world.
Take pride in your setup and enjoy the process of building a space that is truly yours. With each broadcast, you’re not just sharing sounds over the airwaves; you’re creating experiences, fostering community, and building a legacy one show at a time.
Dive into the world of radio with confidence and let your home radio studio be the launching pad for your broadcasting dreams. Your audience awaits—on air and online.
If you want more informations about creating your own radio show, you can go further with this article.
Do you now have your equipment? It’s time to move onto Part 2!
4/ Frequently Asked Questions About Setting Up a Home Radio Studio
What basic equipment do I need for a home radio studio?
You’ll need a professional microphone, quality headphones, a mixing desk, necessary cables like XLR, and a microphone stand.
How can I ensure the best sound quality for my broadcasts?
Invest in a high-quality microphone, use a mixer with good preamps, employ acoustic treatment in your room, choose professional headphones, and maintain a stable internet connection.
Can I set up a radio studio on a budget?
Yes, prioritize key equipment, look for budget-friendly alternatives, start with basic software, and enhance your studio gradually.
How important is the role of mixing desks in a home studio?
Mixing desks are central to a home studio setup as they allow for combining different audio sources, such as microphones, music, and sound effects, for a professional broadcast.
Do I need any specific software to run my home radio studio?
Yes, you’ll need broadcasting software to manage your audio sources, schedule broadcasts, and stream your content online. There are various options available, from free to paid, depending on your needs and budget.
How do I ensure my studio is acoustically treated for optimal sound quality?
Acoustic treatment involves adding materials like foam panels or bass traps to absorb sound reflections and reduce reverberation in your room. You can also use rugs, curtains, and furniture to help dampen sound and create a more controlled environment.
Can I use my home radio studio to broadcast live shows?
Absolutely! With the right setup, including a stable internet connection and streaming software, you can broadcast live shows from your home studio to listeners around the world in real-time.
What are some tips for engaging with my audience during broadcasts?
Engage with your audience by encouraging listener interaction through phone-ins, text messages, or social media. Respond to comments and questions live on air, and consider hosting contests or giveaways to keep listeners engaged and entertained.
How can I monetize my home radio broadcasts?
There are several ways to monetize your broadcasts, including advertising, sponsorships, donations, and selling merchandise or premium content. Build a loyal audience, provide valuable content, and explore different revenue streams to generate income from your broadcasts.
Part 2: Setting up your radio studio!