If you read our first article on creating your Home Radio Studio, you should now have all the necessary equipment to set up your studio. So, let’s dive right in and look at how to assemble and connect your very own radio studio.
1/ Connecting your microphone
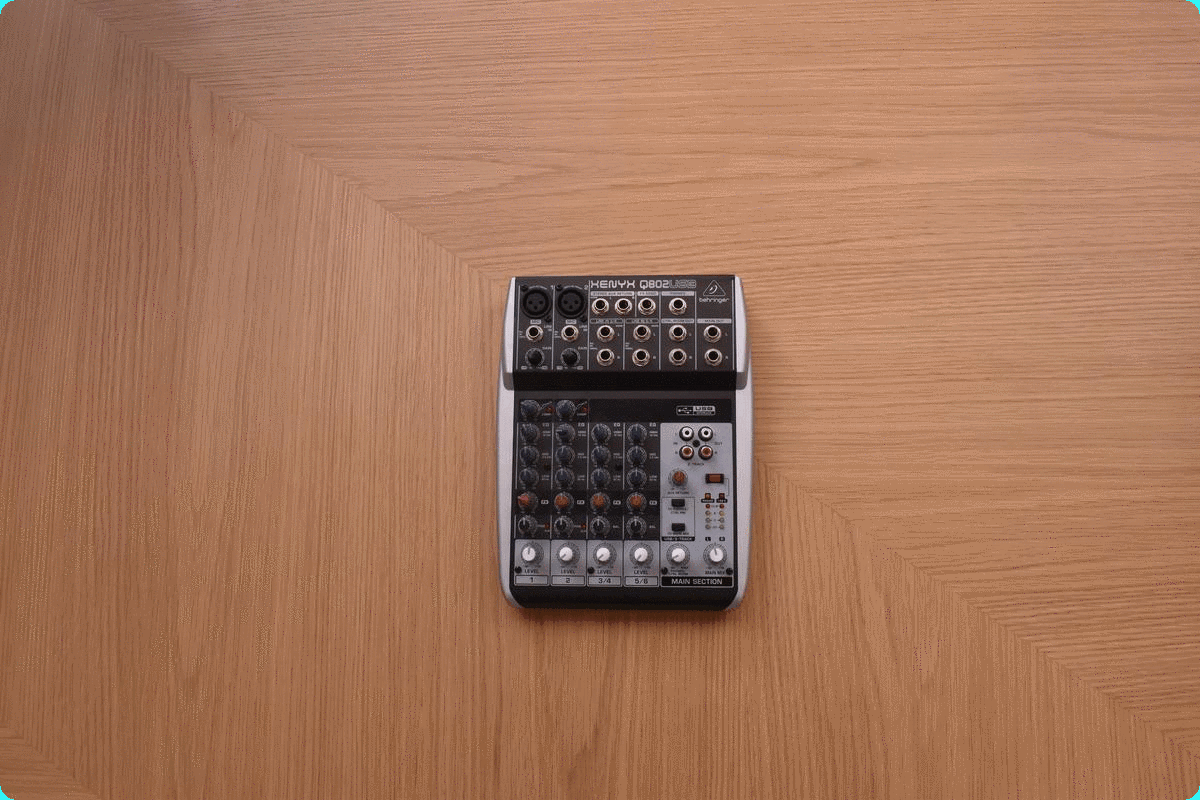
In order to connect your microphone to your mixer, you will need to use an XLR male/female cable.
View the full list of equipment
If you’re broadcasting with multiple microphones, you will also need multiple XLR Cables.
Top Tip: Use a microphone stand as this will allow you to have your hands free during your live session.
2/ Connecting your headphones
Simply connect your headphones to the “PHONES” output on your mixer. If your headphones are not compatible, you should be able to find an adapter that will allow you to plug them in.
3/ Connecting your computer
Simply use the USB cable from your mixer to connect it directly to your computer. This cable allows you to receive the output from your mixer and use it directly from your computer’s broadcasting software.
If your computer doesn’t have a USB port, you can purchase an adapter that will allow you to plug your mixer in.
4/ Additional audio sources for your radio studio
Finally, if you want to use a second device to manage your music or invite one of your listeners on the air, connect that computer/phone or tablet line directly to your mixer with a 6.35-mm double jack cable.

Top Tip: When you make the connection, be sure to plug in the double jack cable based on the cable’s colours.
This radio studio meets the basic needs of a mobile broadcast. Of course, it can be adapted to meet several needs by simply adding more microphones for example!
Are you ready to start broadcasting from your radio studio? Check out Part 3 for everything you need to know to start your first live show!