
When people think about launching an online station, they often imagine large studios packed with expensive radio equipment, mixing consoles covered in buttons and professional presenters speaking into high-end microphones. The reality is usually much simpler.
Today, an online radio station can be run from a spare bedroom, a coworking space, a local association office or even a small corner of your home. Technology has made online broadcasting accessible to independent creators, businesses, schools and community projects alike.
That doesn’t mean equipment no longer matters. In fact, choosing the right radio equipment remains one of the most important decisions you’ll make when building a station.
Over the years, we’ve seen broadcasters launch successful stations with nothing more than a laptop, a microphone and a reliable internet connection. We’ve also seen people invest heavily in equipment that ultimately didn’t improve their broadcasts at all. So before filling your shopping cart with the latest audio gear, it’s worth taking a step back and understanding what each piece of equipment actually does.
1. Environment
2. Computer
3. Microphone
4. Headphones
5. Mixer
6. Setups for different budgets
7. Software
8. Common mistakes
Start with your broadcasting environment
One of the biggest mistakes beginners make is focusing exclusively on equipment specifications. They compare microphones, watch YouTube reviews and spend hours debating which mixer to buy, while completely overlooking the room they’ll be broadcasting from. Yet the environment often has a greater impact on sound quality than the equipment itself.
A $400 microphone placed in a noisy room with bare walls will usually sound worse than a more affordable microphone used in a quiet, well-prepared space. Before investing in radio broadcasting equipment, pay attention to your surroundings.
- Do you hear an echo when you speak?
- Can you hear traffic through the window?
- Is your computer fan particularly loud?
These small details have a direct influence on your final sound.
Many successful online broadcasters improve their audio quality simply by adding curtains, rugs, bookshelves or acoustic panels to reduce reflections. It’s not the most exciting purchase you’ll make, but it can be one of the most effective.
Your computer is probably more important than you think
If someone had asked what radio equipment was needed twenty years ago, the answer would have involved racks of hardware and dedicated broadcast systems. Today, the computer has become the centre of almost everything.
Whether you’re scheduling music, recording podcasts, hosting live shows or managing your station remotely, your computer is effectively your studio’s control room.
Fortunately, modern broadcasting software isn’t particularly demanding. For most internet radio stations, a recent laptop or desktop computer will be more than sufficient. Instead of chasing the most powerful processor available, focus on stability and reliability.
A broadcaster who streams three hours every evening doesn’t need a gaming computer. What they need is a machine that won’t suddenly crash in the middle of a live interview. Reliable internet access is equally important. It’s surprising how often broadcasters spend hundreds on microphones while relying on an unstable Wi-Fi connection that jeopardises every live show.
Choosing a microphone: don’t buy more than you need
Ask ten broadcasters about microphones and you’ll probably get ten different answers. That’s because there isn’t a single “best” microphone. The right choice depends on your environment, your budget and the type of content you produce.
For someone launching their first online radio station, USB microphones have become incredibly attractive. Models such as the Rode Podcaster or Blue Yeti offer excellent audio quality while remaining easy to install. You simply connect them to your computer and start broadcasting. For many stations, that’s enough.
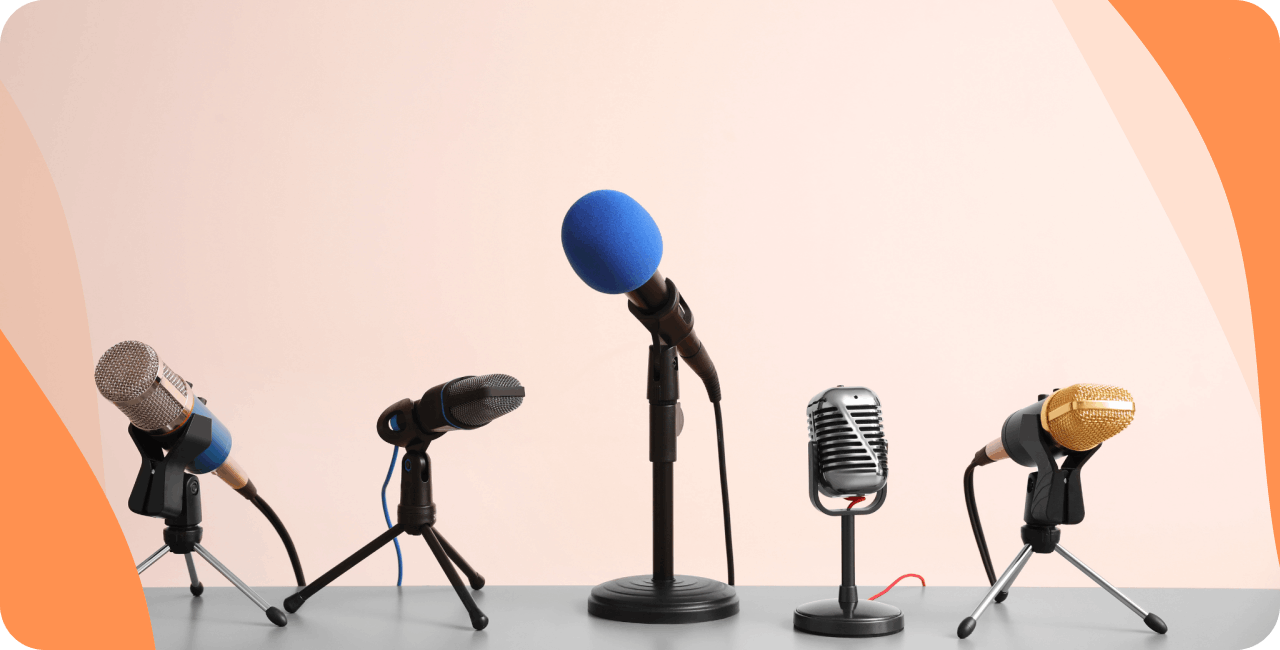
As a project grows, broadcasters often move towards XLR microphones paired with an audio interface. This setup provides more flexibility and opens the door to future upgrades, but it’s not a requirement from day one. A few popular examples are the Behringer B1 and the Rode Procaster.
There’s another distinction that’s often overlooked: dynamic versus condenser microphones. Many first-time broadcasters are drawn towards condenser microphones because they’re frequently recommended by content creators and streamers. However, radio presenters working from home often discover a downside very quickly.
Condenser microphones capture everything. Keyboard clicks, air conditioning, neighbours, passing traffic, even the sound of your chair moving.
That’s why dynamic microphones remain so popular in radio studios. They tend to focus more on the voice and less on everything happening around it. If your studio isn’t acoustically treated, a dynamic microphone may actually deliver better results than a more expensive condenser model.
Headphones: the unsung hero of every radio studio
Microphones usually get all the attention. Headphones rarely do. Yet ask an experienced broadcaster which piece of equipment they use every single day, and headphones will almost certainly be near the top of the list.
Good monitoring headphones help you catch problems before your listeners do. You’ll hear background noise. You’ll notice microphone issues. You’ll identify audio levels that are too loud or too quiet. Without proper monitoring, many mistakes go unnoticed until after the broadcast has finished.
For radio broadcasting, closed-back headphones are generally preferred because they minimise sound leakage and provide better isolation from external noise. They don’t need to be expensive, but they should be comfortable enough to wear for long periods. A few of our favourites include the Beyerdynamic DT-770 M and the Audio-Technica ATH-M20x.
After all, there’s no point having great audio if you’re constantly adjusting uncomfortable headphones during a live show.
Do you really need a mixer?
This is one of the most common questions among new broadcasters. The honest answer is: not always.
A solo presenter using a USB microphone may never need a mixing desk at all. Many modern radio stations operate successfully using software-based controls and a simple audio interface.
Where mixers become useful is when your setup starts to grow. Perhaps you’re hosting guests. Maybe you’re bringing in external audio sources. Or perhaps multiple presenters need to share the same studio.
At that point, a mixer gives you far more control over your production. The key is not buying equipment for a future you may never reach. Build the station you need today. Upgrade when your workflow genuinely requires it.
Radio equipment on different budgets
One reason people delay launching a station is because they assume radio equipment is prohibitively expensive. That’s rarely true anymore. A basic setup can often be assembled for a few hundred dollars.
Entry-Level Setup
Ideal for hobby broadcasters and first-time creators.
- Laptop or desktop computer
- USB microphone
- Headphones
- Broadcasting software
Intermediate Setup
Suitable for regular broadcasters and growing stations.
- Dynamic XLR microphone
- Audio interface
- Monitoring headphones
- Microphone arm
- Acoustic treatment
Advanced Setup
Designed for professional productions.
- Broadcast-grade microphone
- Mixer
- Multiple audio sources
- Studio monitoring
- Dedicated production computer
The important thing to remember is that listeners rarely know how much your equipment costs. What they notice is whether your content is engaging and whether your audio is clear.
Software matters too
Automatic broadcasting involves using a cloud-based solution (like RadioKing) to manage the content and broadcasting schedule of your radio station. Put simply, your hosting provider (RadioKing) creates your radio stream that you manage via an online platform (Radio Manager). Via this Radio Manager, you can upload your MP3 files, create your own playlists & programs, and schedule your content to broadcast automatically 24/7.
Your listeners can then access your stream via their preferred device (smartphone, computer, connected car, etc…)
In order to broadcast live on your radio station, you will need to use a live broadcasting software. Most solutions are compatible with RadioKing, and are free to download. The most popular options are:
Once you have chosen your software, connect your radio by entering your live connection information (found in your Radio Manager). You can then speak live on air or broadcast music live on your radio station.
The equipment mistakes we see most often
Every year, broadcasters make the same purchasing decisions. The most common mistake is spending too much money on a microphone before addressing room acoustics.
The second is buying equipment that’s far more complicated than necessary. There’s a temptation to recreate a professional FM studio from day one, even when a simple setup would achieve exactly the same result.
Another common issue is overlooking the internet connection. No microphone can compensate for a stream that constantly drops out.
Finally, many broadcasters forget that equipment is only one part of the equation. Great radio has always been about content first. Listeners come back for personalities, stories, music selections and community engagement. Equipment helps deliver that experience, but it doesn’t create it on its own.
Final thoughts
Starting an online radio station is far more accessible than it used to be. The challenge today isn’t finding equipment. It’s choosing the right equipment for your specific needs.
Start simple! Focus on sound quality rather than specifications. Invest in reliable tools rather than flashy ones and most importantly, remember that the best radio equipment is the equipment that helps you create content consistently.
Your audience won’t care whether you’re using the latest microphone or the most advanced mixer on the market. They’ll care about what comes through their speakers.

Frequently Asked Questions
How to set up your radio studio?
The set-up of your studio will depend on the equipment you have purchased. If you have purchased a USB mic, you can simply connect it straight into your computer. For a studio set-up with an XLR mic and a mixing desk, we invite you to take a look at this guide.
How to get the best audio quality?
The quality of your audio will depend on the equipment you purchase, as well as your environment. Nowadays, most microphones provide great audio quality, but your choice of equipment will mainly depend on your personal preferences as well as your budget. The equipment that you choose to invest in will have a direct impact on the quality of your audio broadcasts.
How much does radio equipment cost?
Pricing will vary depending on the set-up you want, as well as the number of people who will be broadcasting on your radio station. The cheapest solution remains a USB microphone that requires no additional equipment (such as a mixing desk and various cables) to get up and running.
