
In this article, @Xemles explains how to put your listeners on air with the help of VoiceMeeter on Windows.
It can be incredibly useful to hear your listeners on the radio, or at least it gives you the impression that you’re not talking to yourself! In this tutorial, @Xemles will explain how to put your listeners on air without having to be glued to the mic of third-party phone, without a mixing table and for free!
Installation
First of all, you’re going to need to download VoiceMeeter. Head over to the link here and click on “Download”. Open the downloaded file, install VoiceMeeter and reboot your computer (this is necessary for installation).
Usage
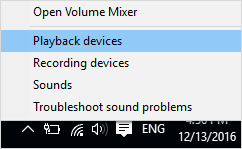
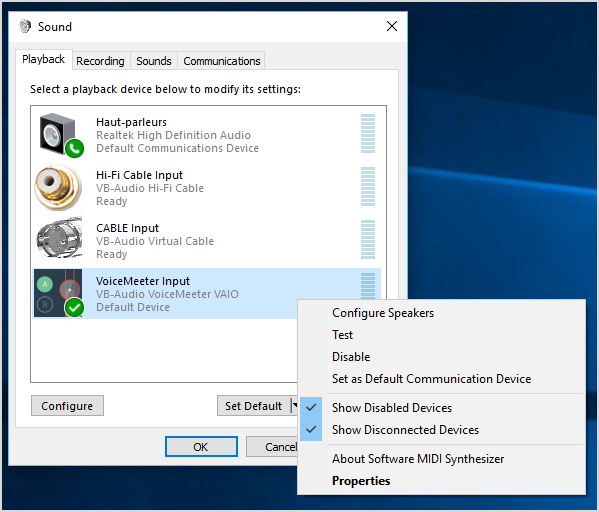
Right click on the loudspeaker in the task bar next to the time below, click on “Playback devices” and then select “VoiceMeeter Input” by default (also for communication):
![]()
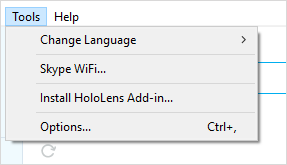
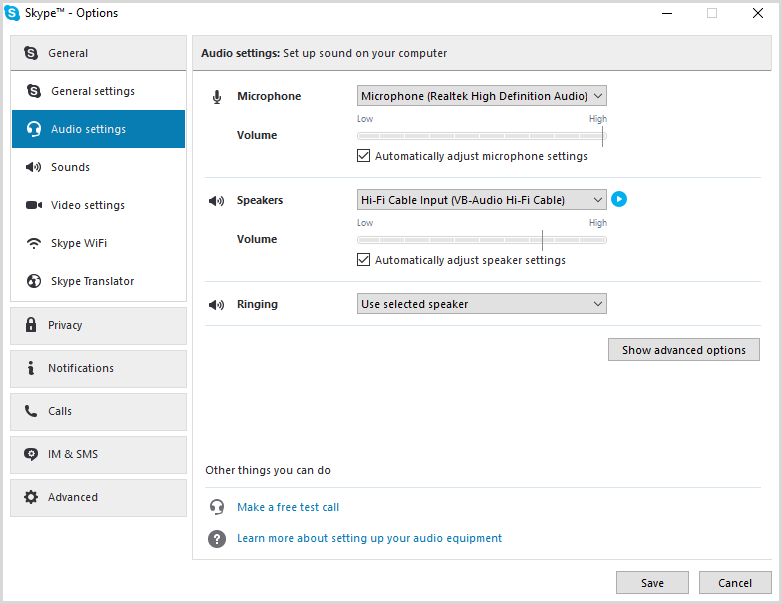
At this point, verify with your communication software (Skype, TeamSpeak 3 etc…) that your Speakers are set to “Hi-Fi Cable Input”.
For example, using Skype:
Now open VoiceMeeter.
In “Hardware Input 1”, we’re going to configure your microphone. To do so, click on the arrow under the number 1 and choose your microphone from the list of devices.
We’re going to leave “Hardware Input 2” blank, the configuration should look like this for the moment:
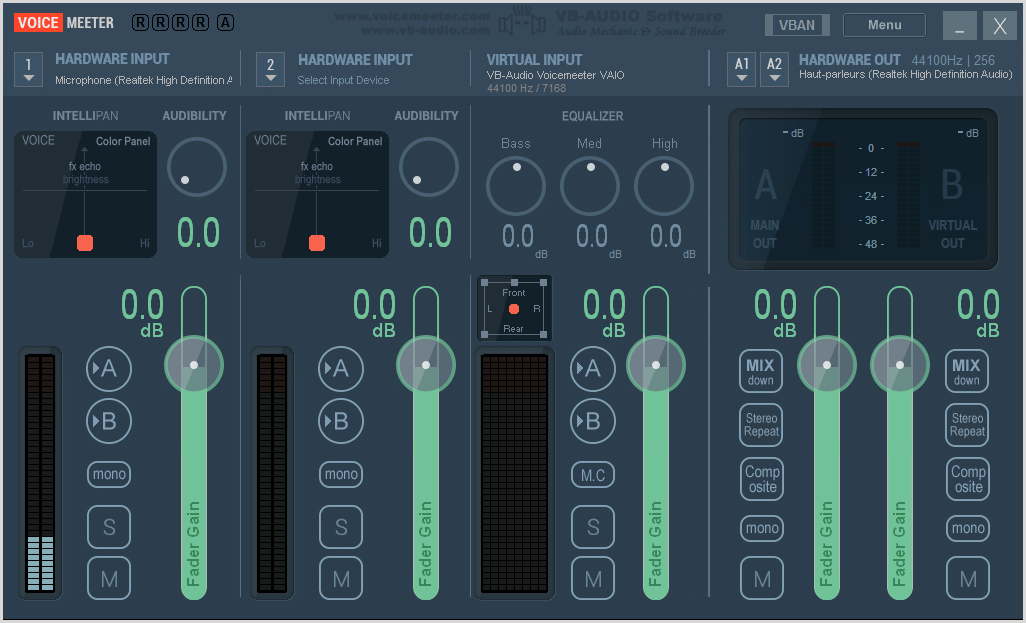
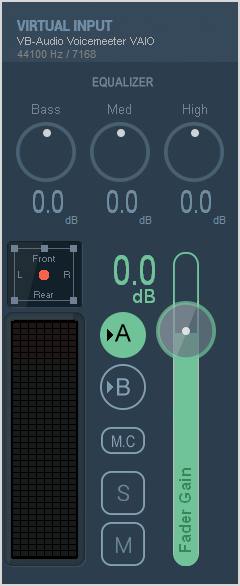
Normally, in the Virtual Input column, you should see “VB Audio VoiceMeeter” – this input should have several options. This input deals with the sound of your computer (i.e. your listeners)
Have a look at these buttons:
 .
.
When A is activated, you should hear the sound from the device (loudspeaker)
When B is activated, the sound is heard by your listeners (output)
In order that your listeners (radio), hear the sound from you microphone, you should activate B in “Hardware Input 1”.
In order that you hear your listeners (loudspeaker) and that your listeners also hear themselves (radio), you should activate A and B in Virtual Input.
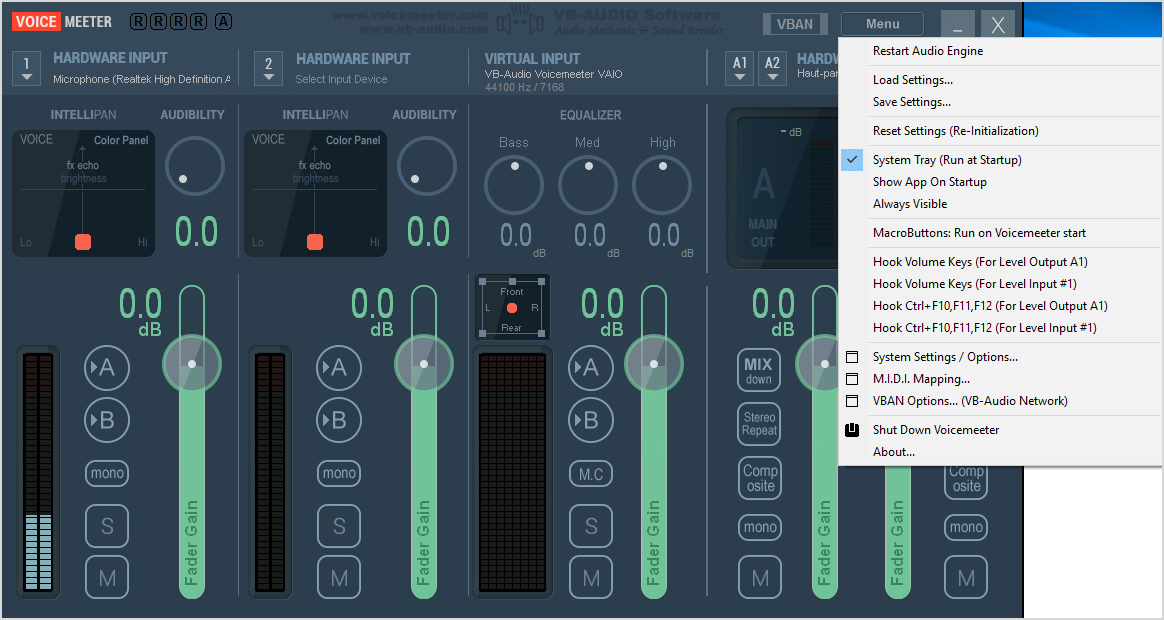
You should always have VoiceMeeter open in order to hear the sound of your computer. You can leave it open by ticking “System Tray” found by clicking on the Menu button.
Using the broadcasting software
In order for the configuration to work, you should choose “VoiceMeeter” as the input and output for your microphone.
You can use StudioKing or your preferred broadcasting software.
Taking things a step further…
All this is great, until you want to listen to a background sound or worse, your broadcasting software sends back the return creating audio feedback! So, to avoid all of this, we’re going to install:
Thanks to this software, we’re going to isolate the sound of your listeners and so that only we can hear them (this is where we’re going to use “Hardware Input 2”)
Installation
Download the VB-Cable Driver, extract the archive and open setup in administrator mode, then click on “Install Driver”.
Download the HIFI-CABLE & ASIO-Bridge, extract the file and open setup, then click on “Install”.
Using Virtual Audio Cables & Applications
Go back to your devices in the task bar:
![]()
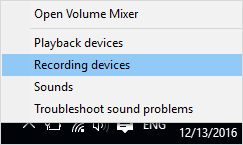
You can see that in “Recording and Playback Devices”, VB-Cable Driver and Hi-Fi Cable Output should have appeared:

It’s thanks to these two programs that you’ll be able to isolate your sound!
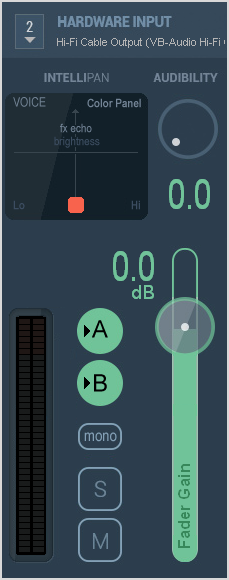
Head back to VoiceMeeter and in “Hardware Input 2”, select Hi-Fi Cable Output and activate A and B as shown:
In “Virtual Input”, we can deactivate B.
And there you have it, your listeners will only hear your microphone and the sound from your communication software!
Why not check out @Xemles‘ webradio on our platform: https://radioking.com/radio/allway
Please do not hesitate to contact us via [email protected] should you wish to share your own tutorials with the RadioKing community, we’d be more than happy to publish them on the blog!
