As you may know, the RadioKing team moved to a new building in April 2019 which means that we finally have enough room to build our own radio studio!
We wanted to launch ourselves in the creation of our very own studio, not only to limit expenses, but also to make sure that everything is exactly as we want it. Building your own studio is also a great way to get the best quality/price ratio.
We wanted to share this journey with you, to show you each and every step in hope that it may be helpful or inspire you to create your own studio. If we can do it, so can you! ?
Getting Started
First things first, we decided to create a team of 3-4 people who would be in charge of the radio studio as it can sometimes be complicated to work on a project with too many people involved.
There are different reasons that we wanted to create a studio and it was important for us to take them all into account to ensure that the studio is adapted for all purposes. We’ll be using our studio for:
- Testing new equipment/ software related to the radio world
- Allowing our team to work on their own personal radio stations using our solution
- Renting the studio and offering training courses to help you with your radio project
Sketches and designs
Once these details were established and the project was more concrete in our minds, we created 2 different models of the studio, as we had two available rooms.
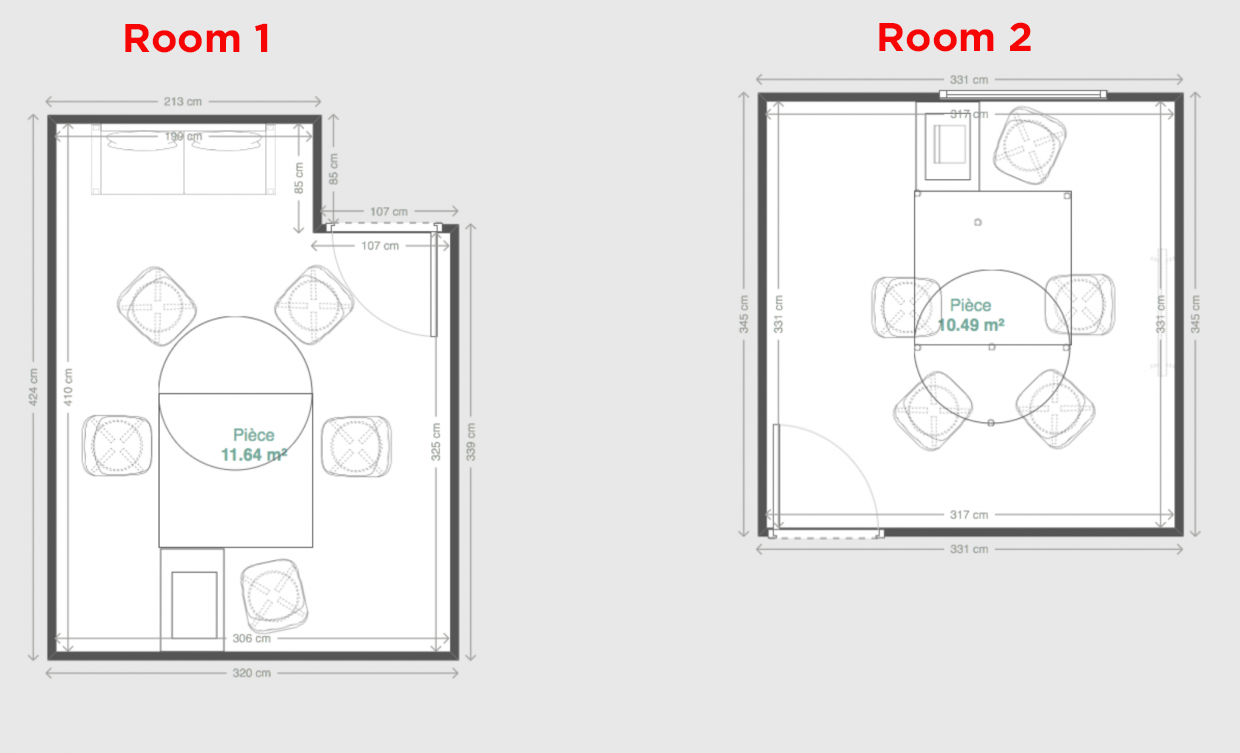
After comparing the advantages and disadvantages of both options, we decided that room 2 would be best because it was the easiest to work with acoustically, and the size of the room allowed us to create a table for 5 people without being too crowded.
We strongly suggest creating models/designs in order to visualize the result before getting started, it will save you time afterwards!
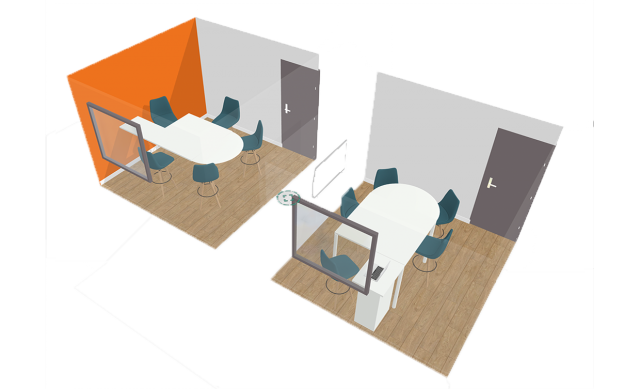
We then created various 3D models of room 2 to see what it would look like with the real proportions of the table. We wanted to make sure that all 5 people had enough space to move freely and feel comfortable.
Teddy, our studio expert, designed this technical plan to help us understand how everything would be connected:
 Green: This corresponds to the microphones. Each microphone goes into an amp (up to 2 microphones per amp), which is used to increase the volume of the microphone and for pre-processing. The output of the amp goes to the mixing desk.
Red: This section corresponds to headphones. The “PHONES” output of the mixing table goes to a headphone amp. It’s used to amplify the output and distribute it to up to 8 headphones (5 in our case).
Everything in blue concerns the connection lines to the PC.
Dark Blue: The Voice Over IP/ VOIP (Skype, Discord…) This is used to broadcast your listeners live on air. The input corresponds to the caller’s voice, and the output corresponds to the general output of the mixing table EXCEPT for the caller’s voice (otherwise you would have a super unpleasant feedback.)
Medium Blue: The main lines. Here, the input corresponds to the music coming from the PC. The output corresponds to the final encoding for broadcasting.
Light Blue: The PFL line (pre-fade listen) line. Here, the input corresponds to the music coming from the PC for pre-listening (this means that the music will only play in your headphones, and will NOT be broadcast.)
What we need
Once all of our sketches and plans were complete, we made a list of all the material needed to create our radio studio.
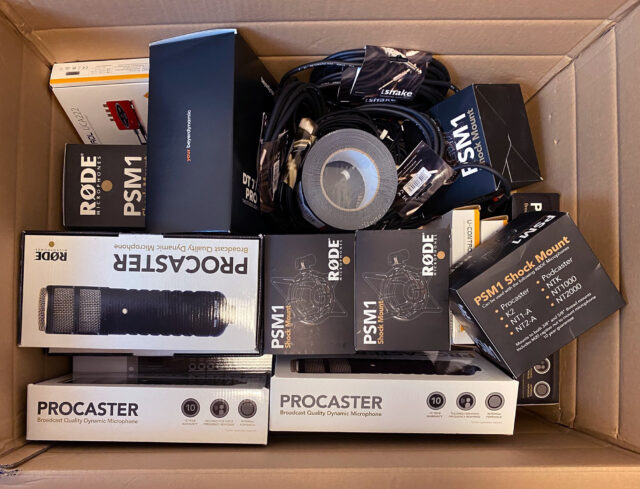
We bought everything we needed regarding:
- Construction
- Sound
- USB connections
- Furnishing
- Microphones
- Headphones
To see the complete list, you can follow this link.
In the next article, we’ll show you the different steps for the construction of the table so be sure to stay tuned!
Follow the next steps in Part 2!