We’re back with the next part of our radio studio story! This week we’re going to show you how we built and assembled our table.
If you read Part 1, you’ll know that we purchased a plywood board (250 x 122cm) to create a table big enough for 4 guests and 1 host. Teddy and Guillaume were in charge of cutting the plywood, here’s how they did it:
“Basically, we wanted to make a rounding on the table because we thought it was more aesthetically pleasing and the shape was better adapted to the room we chose. We wanted the rounding to be perfect, so we avoided using a jigsaw. We simply looked for a tutorial on YouTube explaining how to do a clean rounding with a router! Once the cutting was done, we sanded the table to make the edges nice and smooth.
Then we moved on to the hole for the mixing desk. We measured it and decided where we wanted it to be placed in the table and again we used the router. We checked if the mixer fitted well, we had to go back with the router and take a bit more off the edges to make it perfect!”
Once the table was ready, we were able to attach the legs by screwing them on underneath. We chose to get adjustable table legs, as we want to create a high table (110cm high.) By using adjustable legs, you can choose the specific height for your table (and if your floor is slightly wonky, you can adjust the legs individually to make it super stable.)
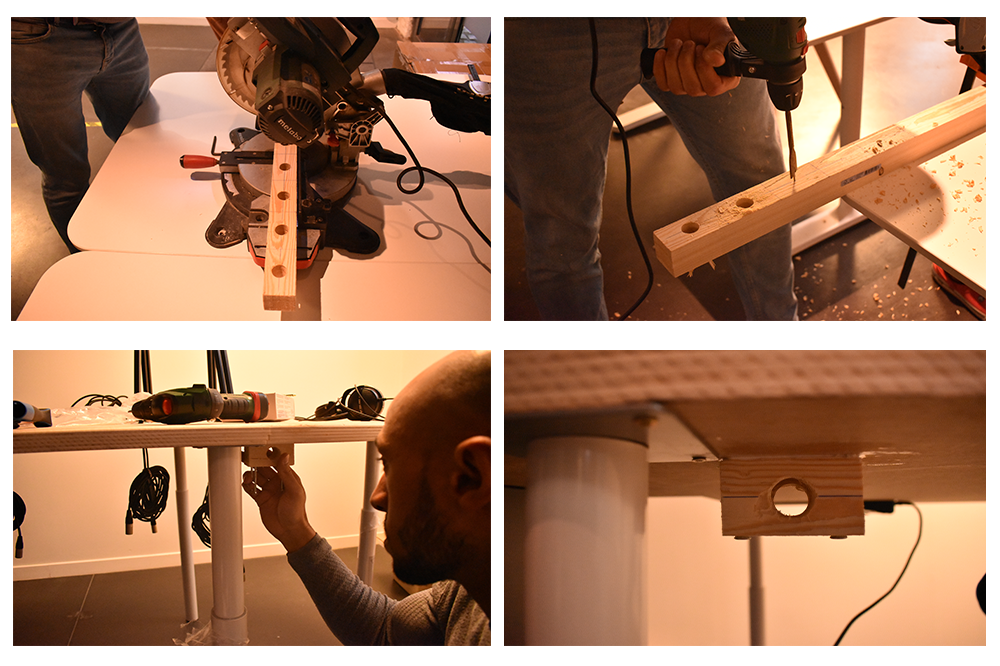
Our table is now standing on it’s own! Teddy and Guillaume then drilled 5 holes (from above and under the table) for our microphone arms. If you’re interested, we purchased the Rode PSA-1 table microphone arms. We’ll also be using the Rode PSM1 shock mounts.
So this isn’t a new mixing desk, when we got it the metal mounts were included. We attached them upside down on both sides of the mixer so that they wouldn’t show once they were hung on the studio table. As you’ve probably understood, we then attached the metal mounts underneath the plywood table!
Thanks to the holes we drilled earlier, we then inserted our microphone arms and screwed them to the table.
We then created 5 small wooden blocks that we attached under the table at each seat. The blocks will hold the jack cables for our headphones in place.
Stay tuned for part 3 where we will put the finishing touches on our table, handle the acoustic treatment of the room and connect all of the equipment!
Discover the final results in Part 3!Learn how to create a radio station effortlessly online with RadioKing's intuitive tools.
You want to start your online radio and are wondering about creating your website? Choosing…
Discover how to make your own radio station with RadioKing. Start broadcasting in minutes!
Discover internet radio hosting with RadioKing: create, manage, and broadcast your station effortlessly.
In February 2026, RadioKing officially launched RadioKing Pro Solutions, an offer dedicated to professional radio…
Explore online radio broadcasting with our guide. Learn to create, schedule, and broadcast effortlessly.